
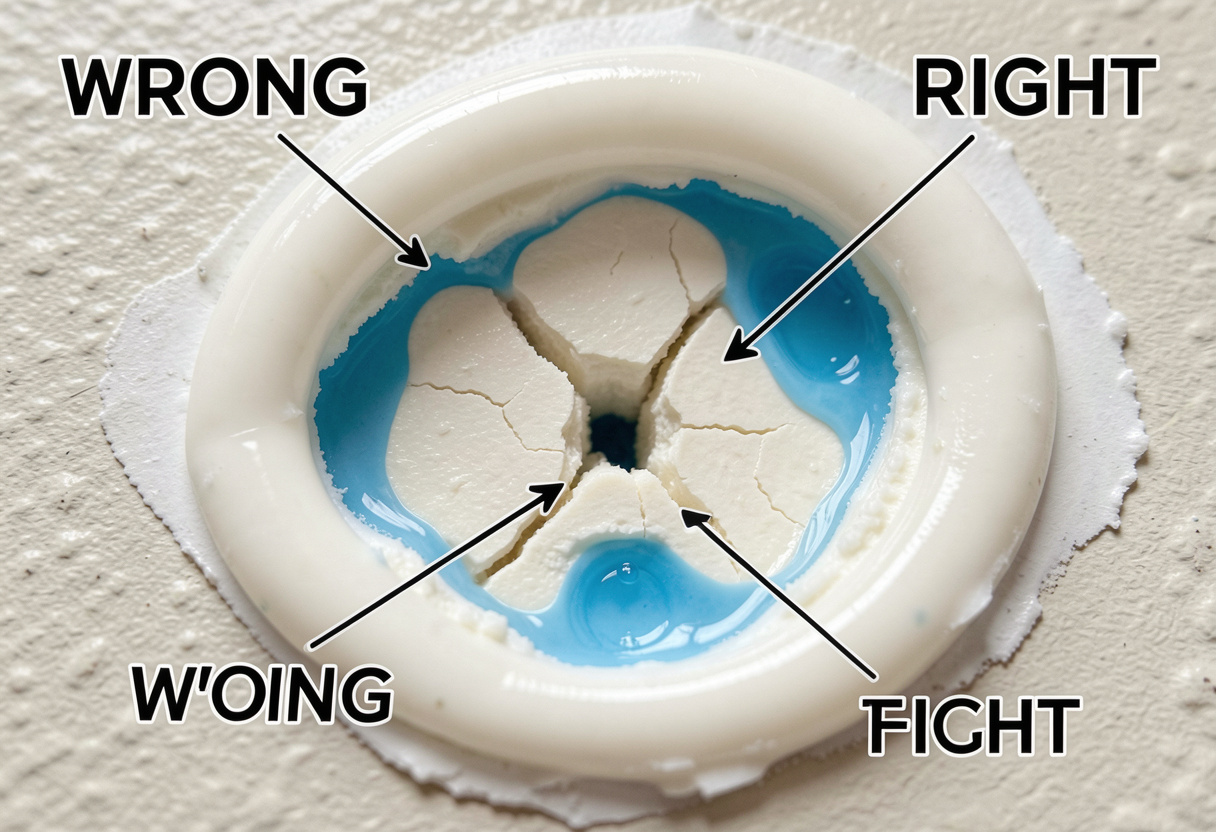
You spent an hour carefully running that bead of caulk. It looked smooth. Professional, even. Then two weeks later, you notice water seeping right where you just sealed. Worse than before. If the leak’s coming from a pipe under the sink, that’s a whole different fix—but excess caulk causes leaks more often than homeowners realize.
Sound familiar? You’re not alone. And here’s the twist nobody tells you: using too much caulk is often exactly why the leak came back.
Let’s break down why more isn’t better when it comes to sealing gaps—and how to get it right the next time.
The Surprising Truth: How Excess Caulk Creates Water Traps
Here’s the thing about caulk: it’s not just a plug. It’s a flexible seal that needs to cure properly to work. When you lay down a thick, gloopy bead, the outside might skin over quickly, but the inside stays soft for days—or even weeks.
That soft core? It shrinks as it finally dries. And when it shrinks, it pulls away from the edges you were trying to seal. Tiny gaps form. Water finds them. Suddenly, you’ve got a hidden channel trapping moisture behind your “fix.”
Think of it like wrapping a bandage too tightly around a cut. The surface looks covered, but pressure builds underneath, and healing slows down. Caulk works the same way. Too much bulk = poor curing = hidden failure points.
The “Caulk Autopsy” Test: Next time you remove old caulk, slice through the middle of the bead. If the center feels soft or crumbly while the outside is hard, that’s shrinkage failure in action. That’s exactly why too much caulk causes leaks—it cures from the outside in, leaving weak spots inside.
Common Caulk Application Mistakes That Backfire
Applying a Bead That’s Too Thick
If your caulk bead looks like a fat worm sitting on top of the joint instead of sinking into it, you’ve used too much. The sweet spot? Aim for about ¼ inch wide and ½ inch deep. That’s enough to flex with movement but thin enough to cure all the way through.
Pro tip: Cut your caulk tube nozzle at a 45-degree angle, and make a small opening—about 1/8 inch. You can always add more, but you can’t easily subtract.
Ignoring Caulk Shrinkage During Curing
All caulk shrinks a little as it cures. Silicone shrinks less than acrylic, but both need space to do it without pulling away. When you overfill a gap, that shrinkage creates tension. The bead cracks, usually right at the edge where water sneaks in.
Humidity and temperature matter too. Applying caulk on a cold, damp morning? Expect longer cure times and more shrinkage stress. If you can’t control the environment, at least give it extra time before exposing it to water.
Sealing Over Moisture or Dirty Surfaces
This one hurts because it’s so easy to rush. You see a gap, you grab the caulk gun. The same goes when you seal window gaps—prep always beats speed. But if there’s even a hint of moisture, dust, or old sealant residue, your new bead won’t stick properly. It might look fine on day one. By week two? It’s peeling.
Quick prep checklist:
- Wipe the area with rubbing alcohol (not just water)
- Let it dry completely—15 minutes minimum
- Remove loose debris with a brush or vacuum
- If re-caulking, scrape out old material fully
Bathroom-Specific Caulk Failures (And How to Avoid Them)
Bathrooms are caulk’s toughest test. Constant humidity, temperature swings, and direct water exposure mean mistakes show up fast. That’s why bathroom mold removal often starts with fixing the sealant first.
One common bathroom caulk mistake that causes water damage? Sealing the bottom of a tub or shower surround. Trapped condensation or minor leaks behind tiles need a way to escape. That’s why many pros leave a tiny gap at the lowest point or use a backer rod to control depth.
Also: ventilation. If your bathroom doesn’t have a fan (or you never run it), moisture lingers in the air and slows caulk curing. Run the fan during and after your project. It makes a bigger difference than you’d think.
Watch for caulk shrinkage leak problem signs: hairline cracks appearing within days, beads that feel soft when pressed, or water beading oddly on the surface. These aren’t cosmetic issues—they’re early warnings.
Step-by-Step: How to Apply Caulk Without Creating Leaks
Ready to do this right? Here’s the no-fluff process:
- Gather your tools: caulk gun, utility knife, rubbing alcohol, painter’s tape, damp cloth, and a smoothing tool (a wet finger works in a pinch).
- Prep the joint: Remove old caulk, clean thoroughly, dry completely.
- Cut the nozzle small: Start with a tiny opening. You can widen it if needed.
- Apply steady pressure: Move at a consistent pace. Let the caulk fill the gap—don’t force it.
- Smooth immediately: Dip your finger in soapy water and run it along the bead once. This presses caulk into the joint and removes excess.
- Remove tape (if used) right away: Pull it back on itself at a 45-degree angle.
- Wait before testing: Give it at least 24 hours (72 hours for silicone in humid conditions) before exposing to water.
That’s it. No magic, just method. And if you’re wondering how to apply caulk without creating leaks, this sequence covers the bases most tutorials skip: prep, patience, and minimalism.
Pro move: After smoothing, run a dry paper towel lightly along the edge. It catches the excess you missed and gives a cleaner finish without reworking the bead.
When to Remove and Re-Caulk vs. When to Call a Pro
Not every caulk failure is a DIY fix. If you see:
- Soft, spongy walls or floors near the leak
- Mold is spreading behind caulk lines
- Gaps wider than ½ inch
- Recurring leaks after two proper re-caulking attempts
…it might be time to bring in a pro. These can signal deeper water damage or structural movement that caulk alone can’t address.
But if it’s just a cracked bead or poor adhesion on a clean, dry surface? You’ve totally got this. Remove the old caulk with a utility knife or dedicated remover tool, re-prep, and start fresh. And if your shower’s draining slowly after all that water testing, learn how to unclog a shower drain without harsh chemicals.
FAQs
How long should caulk last before I need to reapply?
In a bathroom, expect 2–5 years with proper application. High-traffic showers may need touch-ups sooner. If you see discoloration, cracking, or water beading oddly, it’s time.
Can I caulk over old caulk?
Technically, yes, but rarely advisable. New caulk won’t bond well to old, especially if the old bead is failing. Spend the extra 20 minutes to remove it first—your future self will thank you.
What’s the best caulk for bathroom leaks?
100% silicone or silicone-latex hybrid. They handle moisture and movement better than pure acrylic. Look for “mold & mildew resistant” on the label.
Why does my caulk crack after just a week?
Usually one of three things: applied too thick (shrinkage stress), surface wasn’t clean/dry (poor adhesion), or the joint moves more than the caulk can flex. Revisit the prep steps and bead size next time.
Wrapping Up
Caulk seems simple until it isn’t. The irony? Trying to “make sure” by using extra material is often what sabotages the seal. Keep your bead modest, your prep thorough, and your expectations realistic.
Next time you’re about to grab that caulk gun, remember: it’s not about how much you lay down. It’s about how well it bonds, cures, and flexes over time.
Got a caulk job that failed fast? Try the “autopsy test” we mentioned—slice a small section and check the core. If it’s soft inside, you now know why. Fix it right, and you’ll skip the repeat repair.