
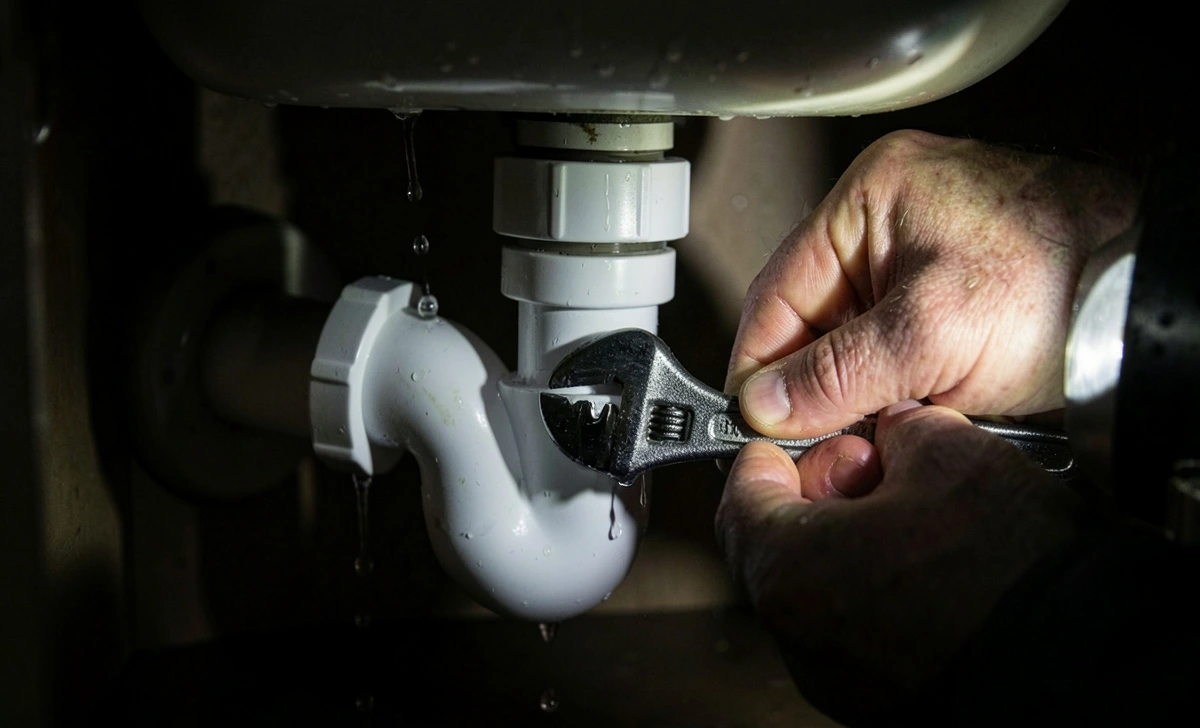
That steady drip-drip-drip from a leaking pipe under sink isn’t just annoying—it’s a warning sign. If you’re wondering what to do when the pipe under the sink is dripping, you’re in the right place. I’ll walk you through exactly how to find the leak, stop the damage, and fix it yourself, no plumber required… yet.
Truth is, most under-sink leaks are simple fixes. A loose nut, a worn washer, or a tiny crack. But you’ve got to find the source first—or you’ll just be mopping up water next week.
Here’s the thing: panic makes everything harder. So take a breath. Grab a flashlight and a paper towel. Let’s figure this out together.
Step 1: Identify the Leak Source (and Why It Matters)
Before you reach for a wrench, you need to know where the water’s coming from. Guessing wastes time—and sometimes makes things worse.
The paper towel test is your best friend here. Dry every pipe, joint, and connection under the sink completely. Then press a fresh paper towel along each spot. Wait 60 seconds. Where does the towel get damp? That’s your culprit.
Most leaks happen in one of three places:
- The P-trap (that U-shaped pipe): Loose slip nuts or cracked plastic
- Supply lines (the flexible hoses to your faucet): Worn washers or pinhole leaks
- Drain flange (where the sink meets the pipe): Failed putty or gasket
You’ve probably noticed water pooling in the cabinet, but couldn’t tell where it started. That’s normal. Plumbing leaks are sneaky—they travel along pipes before dripping down.
Pro tip: Shine your flashlight at a low angle across dry pipes. Even a tiny bead of moisture will catch the light.
Learning how to identify the leak source under the kitchen sink isn’t just about fixing today’s problem. It saves you from replacing parts that weren’t broken in the first place.
Step 2: Tighten Connections Safely (Without Making It Worse)
Okay, you found the leak. Now what?
If it’s at a slip nut (the plastic rings holding the P-trap together), try hand-tightening first. Seriously—just your hands. Over-torquing plastic fittings is the #1 mistake DIYers make. Crack a nut, and you’ve turned a $2 washer job into a $40 part replacement.
Here’s the right way to tighten the p-trap under the kitchen sink leak:
- Place a bucket under the trap (yes, even for small drips)
- Loosen the slip nut slightly, then retighten by hand until snug
- If it still leaks, give it a quarter-turn with channel-lock pliers—no more
- Run water for 30 seconds and check again
Wait, what if the leak’s at a threaded connection (like where the supply line meets the faucet)? That usually means the rubber washer inside is shot. Turn off the water at the shut-off valves, disconnect the line, and swap the washer. They cost pennies at any hardware store.
Last month, my neighbor Sarah spent an hour wrestling with a “mystery leak.” Turned out she’d overtightened the P-trap so hard the plastic warped. We replaced the trap ($8), hand-tightened the new one, and were done. Sometimes the fix is undoing what you just did.
Step 3: Temporary Emergency Fixes (When You Can’t Call a Plumber Tonight)
Let’s be real: sometimes you discover a leak at 10 PM on a Sunday. Or you’re waiting on a part. You need to stop water now—not tomorrow.
That’s where quick, temporary fixes come in. They won’t replace a proper repair, but they’ll buy you time without flooding your cabinets.
Silicone Repair Tape: Wrap and Go
This self-fusing silicone tape bonds to itself (not the pipe), so it works even on wet surfaces. Stretch it tight as you wrap, overlapping each layer by half. It seals small cracks and pinhole leaks in minutes—perfect when you need to seal gaps safely without making the problem worse.
The Epoxy Putty Option
For tiny cracks in metal or rigid plastic pipes, epoxy putty is a solid stopgap. Knead the two parts together, press firmly over the leak, and let it cure (usually 15-30 minutes). It hardens like steel and holds water pressure surprisingly well.
An epoxy putty fix for a kitchen pipe leak isn’t permanent—but it’s saved many a midnight disaster. Just remember: it’s a bandage, not a cure.
Damage Control Basics
While you’re at it:
- Keep a shallow pan under the leak to catch drips
- Place a towel in the cabinet bottom to soak up splatter
- If water’s pooling fast, shut off the sink’s water valves (usually under the sink) or the main house valve
If you’re just trying to figure out how to stop water dripping from the pipe under the sink until you can do a full repair, these tricks work. But don’t wait more than a few days to address the root cause.
Step 4: Permanent Repair Options (Done Right the First Time)
Temporary fixes are great for emergencies. But for peace of mind, you’ll want a lasting solution.
Replace Worn Parts (The Right Way)
Most leaks boil down to one of these:
- Slip-joint washers inside P-trap connections: Replace if flattened, cracked, or brittle
- Supply line hoses: Swap if you see bulges, corrosion, or moisture at the ends
- Plumber’s putty or rubber gaskets at the drain flange: Reapply if the sink rim is leaking
Take the old part to the hardware store. Matching it exactly saves you a second trip. Finding appliance spare parts that match your setup makes the whole process smoother.
When to Call a Pro (No Shame)
Some situations really do need a plumber:
- Leaks behind the wall or under the floor
- Corroded metal pipes that crumble when touched
- You’ve tightened, replaced washers, and it still leaks after 24 hours
Spending $150 on a pro beats $1,500 in water damage. Seriously.
Prevention Tips: Stop Leaks Before They Start
Fixing today’s drip is great. Avoiding tomorrow is even better.
Do this once a month:
- Wipe down all under-sink pipes with a dry cloth
- Check for moisture, mineral deposits, or slight discoloration
- Gently wiggle connections—if anything moves more than a millimeter, snug it up
- Look for signs of pests (they love damp cabinets)
Also: avoid pouring grease down the drain. It coats pipes, traps debris, and increases pressure on joints. A $10 drain strainer prevents so many headaches.
Ever notice how the small habits—like that monthly wipe-down—save the most trouble down the road?
FAQs
Can I use duct tape to stop a pipe leak?
Short answer: no. Duct tape isn’t waterproof long-term, and adhesive fails when wet. Use silicone repair tape or epoxy putty instead—they’re made for this.
How do I know if the leak is from the sink or the pipe?
Run water only in the sink (don’t use the disposal). If it leaks, the issue is likely the drain flange or basket strainer. If it leaks only when the disposal runs, check those connections. No water running, but still dripping? Probably a supply line.
Is a slow drip really a big deal?
Yes. One drip per second wastes ~3,000 gallons a year. Plus, constant moisture invites mold, rot, and pests. Fix even tiny leaks.
What tools do I actually need for this?
Start with: adjustable pliers, a bucket, paper towels, a flashlight, and replacement washers. Most fixes need less than $15 in parts.
Wrapping This Up
That drip under your sink doesn’t have to spiral into a plumbing emergency. Now you know what to do when the pipe under the sink is dripping: find the source, try a simple tighten or washer swap, use a temporary fix if you’re in a pinch, and tackle the permanent repair when you’re ready.
Most of these fixes take under 30 minutes and cost less than a takeout dinner. And if you get stuck? That’s what plumbers are for—no guilt.
Next time you’re under there, maybe snap a photo of your setup. It’ll help if you need to troubleshoot again later. Or check out our guide for more plumbing confidence. And if past moisture left behind mold, learn how to remove mold safely before it spreads.