
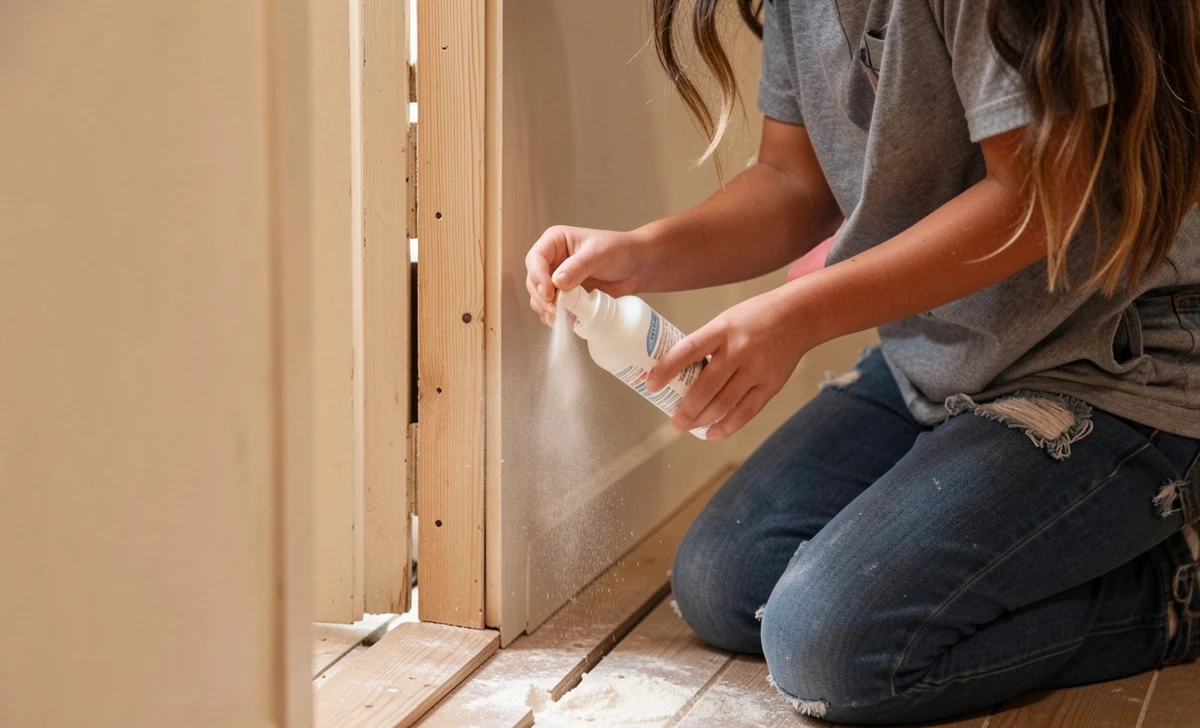
That one board by the hallway just squeaked loud enough to wake the dog. Again. You freeze, hold your breath, and hope no one heard. Before you start tearing things apart, it helps to measure your room so you know exactly where the noise is coming from. Sound familiar?
Good news: you don’t need to rip up your floors or call a contractor to fix squeaky floor today. Most squeaks come from simple friction, and you can quiet floor creaks with the talcum powder method in under ten minutes. I’ll show you exactly how, plus four other no-demo fixes that work whether you own the place or you’re renting.
Why Your Floor Squeaks (And When You Don’t Need to Rip It Up)
Wood moves. It swells in humid months, shrinks when it’s dry. Over time, that movement loosens the tiny grip between your floorboards and the nails holding them down.
Step on a loose board, it rubs against the nail, and you get that signature groan.
It’s annoying, sure, but rarely dangerous. Unless the floor feels spongy, dips noticeably, or you see cracks spreading on the ceiling below, you’re dealing with noise—not a structural emergency.
Friction problems are usually quick wins. No sawdust. No demo. Just a little know-how and the right approach.
The #1 Quick Fix: Talcum Powder or Graphite for Instant Relief
Here’s the thing: sometimes the simplest solution works best. If you’ve got baby powder in the bathroom cabinet, you’re halfway there.
Do this:
- Sweep the squeaky seam clean. Dust and grit just make things worse.
- Sprinkle talcum powder directly into the crack between boards. On carpet? Part the fibers gently so the powder drops down.
- Grab an old paintbrush or stiff broom bristle and work the powder back and forth. You’ll feel it sinking in.
- Wait ten minutes. Step firmly on the board a few times to push it deeper.
- Wipe away the excess with a microfiber cloth.
If the squeak comes back after heavy traffic, swap talcum for powdered graphite. It’s darker and messier, so keep it away from light wood, but it lasts longer. Wear gloves—it stains skin fast.
Why does this work? The powder acts like a dry lubricant, reducing friction between rubbing surfaces. No glue, no drilling, no commitment. Just quiet.
Fix Squeaky Floorboards from Below the Basement
Got access underneath? You’re in luck. Working from below is the cleanest way to stop movement for good.
Grab a flashlight and a friend. Have them walk slowly across the room while you watch from the basement. Look for joists that shift or nails poking slightly through the subfloor. Mark those spots with chalk.
Two reliable fixes from underneath:
- Cedar shims: Slide a thin shim into the gap between the joist and subfloor. Tap it in gently—don’t force it, or you’ll create a bump upstairs.
- Angled screws: Drive a 2-inch wood screw through the joist at a slight angle into the subfloor. Pre-drill a pilot hole first to avoid splitting old wood. The screw pulls everything tight and stops the rubbing dead.
Pro tip: Keep a small container of wood shavings nearby. If you accidentally push a shim too far, you can pack shavings around it to stabilize without over-tightening.
Upstairs Squeaks? How to Silence Floors Without Opening the Ceiling
Not everyone has a basement. Second-story homes force you to work from the top down, which means you can’t just drill upward blindly. And you definitely don’t want to crack your ceiling drywall trying.
Instead, use angled finish nails or specialty break-away screws designed to snap flush with the floor. If you do accidentally nick the ceiling below, a solid ceiling repair guide can help you fix it invisibly.
Here’s the workflow:
- Walk slowly over the squeaky area. Mark the exact seam with painter’s tape.
- Drill a 1/16-inch pilot hole at a 45-degree angle into the board, aiming down toward the joist. You’ll feel the bit catch when it hits solid wood.
- Drive a 1-1/2-inch finish nail into the hole. Leave about a quarter inch sticking out.
- Use a nail punch to tap it just below the wood surface.
- Fill the tiny hole with color-matched wood putty.
Keep your pilot hole small. Drill too wide, and you’ll end up with a visible patch instead of a clean repair. And always test your putty color on a scrap piece first—nothing worse than a bright white dot on dark oak.
Renter-Friendly & Reversible Solutions to Silence Squeaky Floors Rental Apartment Friendly
Renters play by different rules. Drilling holes? Not an option. Wood glue? Absolutely not. You need fixes that leave zero trace when it’s time to hand back the keys.
Area rugs help, but they don’t work near doorways or narrow hallways. Try shifting the weight instead. Also, keep in mind that flooring type matters when choosing reversible fixes—some materials tolerate temporary solutions better than others.
Two non-damaging tricks:
- Move heavy furniture slightly toward the squeaky seam. You’re changing the load path on the subfloor. Pair this with felt pads under the legs, and the board often stops moving entirely.
- Use a removable silicone seam filler. It squeezes into the gap, stays flexible for months, and peels right off later without leaving residue.
Take “before” photos just in case your landlord tries to claim wear and tear. A little documentation saves headaches later. And if you’re unsure, ask your property manager first—most are happy to approve reversible fixes that protect their asset.
Last-Minute Guest Prep: Quick Fix for Squeaky Floor Before Guests Arrive
Dinner starts in forty minutes. The hallway sounds like a creaky old ship. You don’t have time for powder, screws, or pilot holes.
Focus on temporary pressure redistribution.
Grab thick yoga mats, folded moving blankets, or heavy rugs. Lay them directly over the loudest sections. Step on them to compress the material, then tape the edges down with painter’s tape so they don’t slide. It’s not magazine-cover perfect, but it kills the friction instantly.
Once your guests leave, you can tackle the permanent fix. Sometimes buying yourself an afternoon of quiet is exactly what you need.
When to Call a Pro (And How to Avoid Overpaying)
Not every squeak is a DIY job. If the floor feels soft underfoot, slopes noticeably, or you hear creaking across multiple rooms at once, you might be looking at compromised joists or past water damage.
Why risk masking a structural problem with a cosmetic patch?
Bring in a licensed contractor for a quick structural inspection. Ask for a written breakdown of labor versus materials before signing anything. Many floor specialists quote flat rates for shimming and re-securing—but only if the subframe is sound.
Red flags to watch for: contractors who push full floor replacement without inspecting the subfloor first, or who won’t provide references. A good pro will explain exactly what’s moving and why.
FAQs
Will talcum powder damage hardwood floors?
No, as long as you sweep it up completely afterward. The powder sits in the seam and reduces friction. Just avoid using it on unfinished or oil-rubbed wood, where it might leave a faint white haze.
Can I use cooking oil or WD-40 on a squeaky floor?
Skip both. They attract dust, turn into sticky gunk over time, and can warp untreated wood. You’ll trade a squeak for a stained mess that’s much harder to clean.
How do I find the exact board making the noise?
Have a friend walk across the room while you stand still. Listen closely. Often, the squeak comes from two boards rubbing, not just one. Look for seams that shift slightly when stepped on.
Do these fixes work on laminate or vinyl plank flooring?
Talcum powder can work on vinyl seams, but laminate usually snaps together without glue. If the laminate squeaks, it’s typically a subfloor leveling issue. Powder won’t fix an uneven base.
Wrapping It Up
You don’t need a contractor or a weekend demolition project to stop that one annoying board from announcing your every move. Start with the powder method. If it holds, great. If the noise creeps back a few months later, move to shimming or angled screws.
Floors settle. Wood breathes. It’s just part of living in a house with history. But you definitely don’t have to listen to it every time you walk to the kitchen. Keep in mind that climate affects wood, so managing indoor humidity can prevent future squeaks.
If you’re noticing seasonal creaks or want to keep your floors stable year-round, I put together a quick humidity control guide that pairs perfectly with these fixes.