
You know that tiny, annoying ache that won’t quit? The one hiding under your skin after gardening, playing with the kids, or just living life? Yeah, that splinter. Keeping your body hydrated matters more than you think—watching for signs of dehydration can support faster healing for minor skin issues like this.
Let’s talk about how to do it right, when to try other tricks, and how to keep the whole process as painless as possible.
When to Remove a Splinter vs. When to See a Doctor
First, a quick reality check. Most splinters are harmless nuisances. But your body isn’t a pincushion.
If the splinter is large, deeply embedded, or located near your eye, you should skip home methods and call a professional. The same goes if you see signs of infection: increasing redness, warmth, pus, or red streaks spreading from the spot.
And that question everyone wonders: can you just leave it in? Sometimes your body will push a tiny, clean splinter out on its own. But if it’s causing pain, is from dirty wood, or is under a nail, it’s usually best to help it along. Leaving it in can invite infection.
The Epsom Salt Soak Method: Gentle & Effective for Deep Splinters
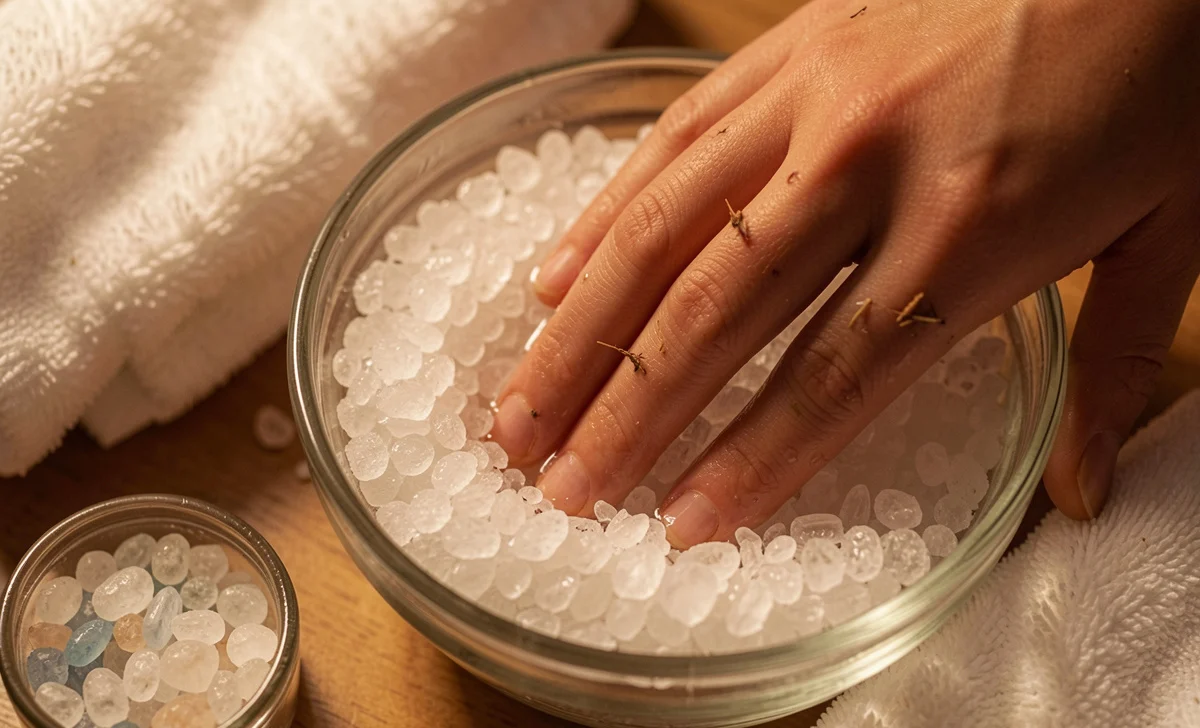
This is our star method. Why does it work? Epsom salt (magnesium sulfate) helps draw fluid to the skin’s surface. This can soften the skin around the splinter and sometimes even coax the splinter itself to edge closer to the exit.
It’s not magic, and it won’t work for every single splinter. But for deep, stubborn, or sensitive spots—especially on kids—it’s a fantastic, low-pressure first step.
Why Epsom Salt Works (and When It Won’t)
Think of it as a gentle nudge, not a forceful pull. It’s perfect for:
- Splinters that are just below the surface but hard to grip.
- Situations where pain or fear makes tweezers a tough sell (hello, kiddos).
- Give your skin a little prep work before using other methods.
It might not be enough for:
- A large, protruding splinter you can easily grab.
- A splinter made of glass or metal that needs immediate, precise removal.
- Any splinter showing signs of infection (see above!).
Step-by-Step: How to Do an Epsom Salt Soak for Splinter Removal
- Mix your solution. Dissolve one tablespoon of Epsom salt in a cup of warm (not hot) water. Warmth helps open pores and increase blood flow to the area.
- Soak the area. Submerge the affected finger, toe, or hand for 10-15 minutes. For a splinter on a less-dippable spot, soak a clean cloth in the solution and hold it firmly against the area.
- Pat dry and check. Gently pat the skin dry with a clean towel. Often, you’ll see the splinter has moved closer to the surface. Sometimes, it might even be sticking out enough to grab.
- If it’s ready, remove it. If you can see a clear end, use sterilized tweezers (wipe with rubbing alcohol) to gently pull it out in the direction it entered. Don’t dig or squeeze.
- If it’s not ready, repeat. You can do this 2-3 times a day. Patience is key. After a day or two, if there’s no progress, it’s time to try another method.
Tool-Based Removal: Tweezers, Tape & Needles (Safely)
Sometimes, you need a more direct approach. That’s okay. The goal is to be smart and safe. Part of being a smart first-aider is knowing when a symptom needs professional eyes—just like learning to distinguish cold vs flu before choosing your next step.
How to Remove a Splinter with Tweezers (Without Breaking It)
This is the classic move. First, wash your hands and the area with soap and water. Sterilize your tweezers with rubbing alcohol. Get good, bright light—a phone flashlight works great.
Gently pull the splinter out at the same angle it went in. Imagine you’re reversing its entry. If it snaps, stop. Don’t start digging. Go back to an Epsom salt soak to see if the rest will surface later.
The Tape Trick: When Duct Tape Actually Works
Yes, really. This works best for small, shallow splinters, especially on kids. Cut a small piece of strong tape (duct tape, packing tape). Press it firmly over the splinter, then peel it off slowly in the opposite direction the splinter entered. It’s a low-pain, high-reward hack for the right situation.
Using a Needle: Only If You Follow These Sterilization Steps
Only attempt this for a splinter that’s fully visible under a thin layer of skin. Sterilize a sewing needle with rubbing alcohol or by holding the tip in a flame for a few seconds (let it cool completely!). Gently lift the very tip of the skin covering the splinter—don’t poke or dig. Use the needle to tease the end of the splinter up, then grab it with your sterilized tweezers. If you’re not comfortable, skip this step entirely.
Special Cases: Kids, Wood Splinters & Fingernails
Splinter Removal for Kids: Calm Techniques That Work
Truth is, a scared kid makes everything harder. Distraction is your best tool. Try the soak during bath time. Use the tape method while they’re watching a favorite show. Keep your voice calm and your movements slow. Praise them hugely for being still. Sometimes, doing the soak and waiting until they’re asleep to gently check with tweezers is the winning move.
How to Remove a Wood Splinter from a Finger (Don’t Soak First!)
Wood is tricky. It’s porous and can swell when wet. If you soak a fresh wood splinter immediately, it might expand and get stuck more tightly. For a fresh wood splinter, try the tape method or gentle tweezers first. If it’s deep, a brief Epsom salt soak (5 minutes) might help, but don’t over-soak.
Splinter Under Fingernail? Try This Before Panicking
Ouch. This one hurts. Don’t try to dig under the nail. Soak the finger in warm water with a little Epsom salt or mild soap for 10 minutes to soften the nail and skin. If the splinter tip is visible at the edge, you might be able to gently guide it out with sterilized tweezers. If it’s fully under the nail or causing significant pain, a quick trip to an urgent care clinic is often the fastest, least painful solution. They can numb the area and remove it in seconds.
Aftercare: Prevent Infection & Speed Healing
You got it out! Nice work. Now, don’t skip the finish line.
- Wash the area again with mild soap and water.
- Apply a dab of antibiotic ointment.
- Cover with a clean bandage for a day, especially if the hole was deep.
Keep an eye on it for the next few days. Normal healing might include slight redness. Anything more—increasing pain, swelling, or pus—means it’s time to call the doctor. One thing many folks overlook: the gut skin connection plays a role in how efficiently your body repairs small wounds.
What Doesn’t Work (And Could Make It Worse)
Let’s bust a few myths. That viral trick with the banana peel or the potato? No solid evidence that it helps, and it could introduce bacteria. Squeezing the splinter like a pimple often pushes it deeper or breaks it. And using unsterilized tools is just asking for an infection.
Stick to the simple, clean methods: soak, gentle tools, and patience.
FAQs
How long should I try home removal before seeing a doctor?
Give it a day or two of gentle attempts if there’s no sign of infection. If it’s not coming out, it’s not worth the stress. A healthcare provider can remove it quickly and safely.
Is it okay to use an Epsom salt soak on a child?
Absolutely. It’s one of the gentlest methods. Just ensure the water is comfortably warm, not hot, and make the process part of a calm, reassuring routine.
What if the splinter breaks off and a piece is left inside?
Stop. Don’t dig. Clean the area, apply a bandage, and monitor it. Often, the body will work the tiny remaining piece to the surface in a day or two. If redness spreads or itching intensifies beyond normal healing, it might be a sensitivity reaction—similar to how mixing up allergy vs intolerance can lead to the wrong fix.
Can I use table salt instead of Epsom salt?
It’s not ideal. Table salt (sodium chloride) doesn’t have the same drawing effect as magnesium sulfate. If Epsom salt is all you have, it’s better than nothing, but for the best results, grab the real deal.
Conclusion
Truth is, most splinters are more annoying than dangerous. Starting with a gentle Epsom salt soak for splinter removal takes the pressure off—for you and anyone you’re helping. It’s a simple, calming first step that often does the trick.
If you try the soak and need to move to tweezers, you’ll already have softened the area, making the whole process easier. And if it’s just not budging? No shame in getting a little professional help. Your peace of mind is worth it.
Next time you’re stocking your home first aid kit, consider adding a small bag of Epsom salt. It’s useful for more than just splinters.