
You’ve walked into a bedroom. It’s cozy, functional, maybe a bit tight. You point your camera, snap a photo, and it looks like a broom closet. Sound familiar?
I’ve seen agents, landlords, and homeowners make this exact mistake dozens of times. The room isn’t the problem. The setup and the lens angle are. If you’re trying to figure out how to photograph a small bedroom for listing, you don’t need expensive gear or an architecture degree. You just need to stop treating staging and photography as two separate steps. They feed into each other.
The Staging-Photography Feedback Loop: Stage for the lens, then shoot for the room. That’s the thread running through everything below.
Here’s how to align them so your Small Bedroom Listing Photos actually show the space you’re working with.
Why Small Rooms Photograph Poorly (And How to Fix It)
Cameras exaggerate. Or at least, they misinterpret depth. Wide lenses stretch corners, overhead fixtures flatten shadows, and a single misplaced chair can swallow half the frame. The fix isn’t about buying a fancier camera. It’s about controlling what the lens actually sees.
Think of your room like a stage set. Every item either pulls the eye inward or pushes it outward. When you know which pieces do what, you stop guessing and start directing the shot. Most buyers skim listings on their phones. If your first image feels tight, they swipe. You want that first glance to feel open.
Pre-Photo Prep: Declutter Like a Pro
Before you touch your camera, clear the floor. Seriously. Even if you’re short on storage, you only need fifteen minutes. Grab three boxes: keep, donate, hide. The goal isn’t a magazine spread. It’s removing visual noise so the actual square footage can breathe.
The 10-Minute Declutter Checklist
- Nightstands: clear surface, one decorative item max
- Floor: shoes, cords, laundry baskets → closet or under-bed storage
- Walls: remove personal photos or busy art that breaks sightlines
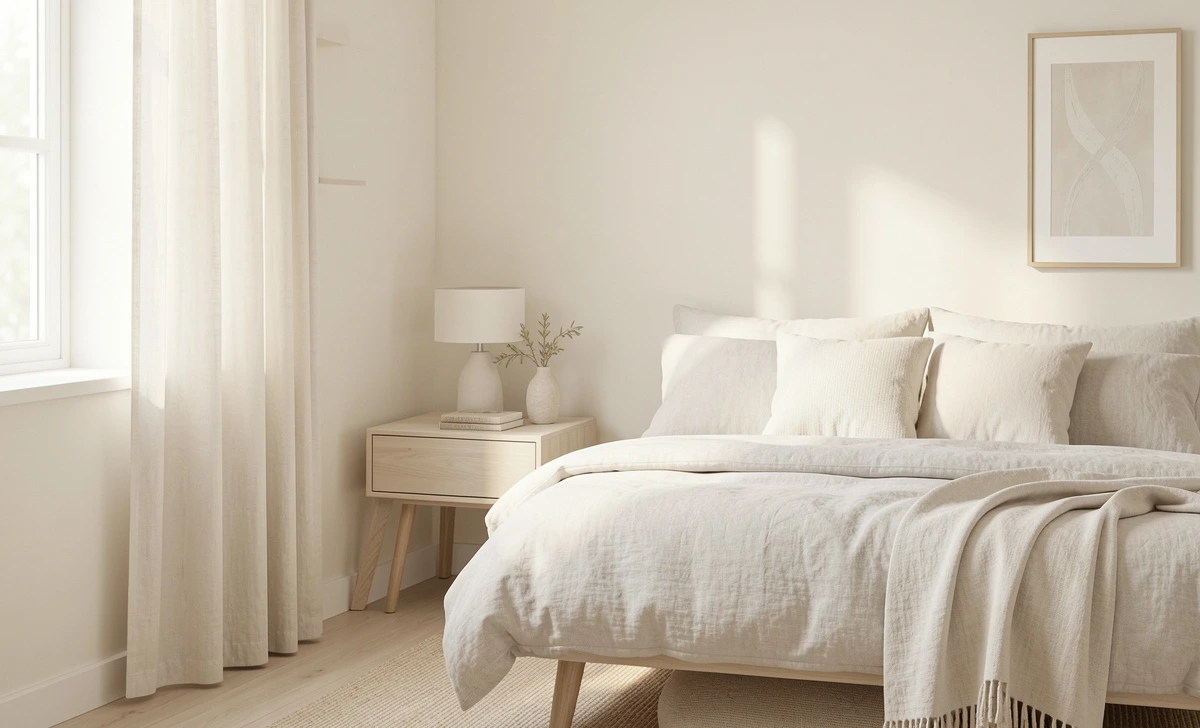
- Bed: crisp sheets, one throw folded at the foot, pillows fluffed but not piled
What to Hide vs. What to Style
Most staging tips for small apartment photos stop at “remove clutter.” They skip the practical side. Keep nightstands clear. Fold blankets into a tight roll. Pull shoes into a closet or under the bed. Stand in the doorway and look at the floor-to-ceiling sightlines. Anything that breaks that line needs to move. When you learn how to declutter a small room before photos for sale, focus on what blocks the path, not what looks pretty.
Lighting Tricks to Make Small Rooms Feel Airy
Bad lighting will shrink a room faster than bad furniture placement. Ceiling fixtures usually cast harsh shadows that pool in the corners. Open every blind. Turn on all the lamps, but swap out dingy shades if they make the light look yellow. Natural light does the heavy lifting here.
Best Time to Shoot (Without Chasing Perfect Sunlight)
Shoot when the sun hits the wall opposite the window, not directly into the glass. That soft bounce fills shadows without blowing out highlights. Overcast days? Actually, ideal—diffused light means fewer harsh contrasts.
Artificial Light Blending for Shadow-Free Shots
If you’re looking for lighting tricks to make a small room look spacious in photos, white balance matters more than brightness. Set your camera to daylight mode, or manually push the temperature toward the cooler side. Warm yellow light makes walls feel closer. Cool, balanced light pushes them back.
Camera Angle Secrets That Add Instant Depth
Here’s where most people miss the mark. They stand dead center, shoot straight ahead, and wonder why the bed looks like it’s blocking the entire room. Step into the corner. Drop your camera to waist height, not eye level. You want to capture the floor, the baseboard, and a slice of ceiling in one frame. That diagonal line tricks the eye into following the room’s full length.
Modern phones actually handle this better than entry-level DSLRs because their default wide lenses do the lifting. Just don’t overdo it. If the walls start bending like a funhouse mirror, you’ve gone too wide. When you apply camera angle tricks for small spaces in real estate, keep your vertical lines straight. A tilted ceiling screams “cramped,” no matter how much you style the room.
Staging Styling: Furniture, Mirrors & Color Psychology
You’ve cleared the floor. The light’s on. Now it’s time to dress the space. Skip bulky dressers. A slim nightstand and a simple upholstered bench work better because they leave negative space. Negative space reads as actual square footage to the human brain.
Mirrors are your quiet secret weapon, but placement changes everything. Hang one opposite a window, never behind the camera. That reflects natural light and doubles visual depth without adding physical weight. Stick to light, muted tones on bedding and walls. Dark colors absorb light and shrink boundaries. The buyer isn’t purchasing the items you stage. They’re buying the room to breathe in.
Quick Troubleshooting: If Your Photos Still Look Cramped
You followed the steps. The frame still feels tight. Check these three things first.
One, your lens is sitting too close to a wall. Step back six inches. Two, your white balance is drifting warm. Switch to daylight or manually drop the temperature by 200–300K. Three, you’re shooting at the wrong focal length. Anything under 16mm on full-frame (or under 10mm on crop) will warp edges. Pull back to 24mm equivalent. Sometimes the fix isn’t more staging. It has less distortion.
FAQs
Can I use my phone instead of a real estate camera?
Absolutely. Modern phones have excellent wide-angle modes and computational HDR. Just shoot in RAW or use a pro camera app so you can adjust exposure and white balance later. Avoid digital zoom. It just crops the image and kills detail.
How much furniture should I actually remove?
Take out anything that blocks the main walking path or covers more than a third of the floor. Keep one or two anchor pieces. You want the room to look livable, not like an empty showroom.
Do I need to hire a professional stager for a small bedroom?
Not necessarily. Physical staging costs time and money. If you understand sightlines, lighting, and lens distortion, you can DIY it for under $50 in extra bulbs and a few light-colored throws.
What’s Next?
You don’t need a massive budget or a production crew to make a tight bedroom photograph well. You just need to line up your staging choices with your camera setup. Clear the floor, bounce the light, step into the corner, and let negative space do the heavy lifting.
Grab your phone, test a few angles before committing, and tweak one variable at a time. Once you nail the first room, the rest follow naturally. If you’re hunting for gear that actually helps without wrecking your budget, start with budget-friendly wide-angle options.